
After completing a simple but effective lamp re-vamp last week, I decided to take on a little more challenging lamp re-vamp. I found this tutorial on Shannon Berrey's blog and thought it would be a perfect way to breathe new life into Finley's bedroom lamp.

I love how Shannon's lamp had a monogram on it, but unfortunately when Finley's initials are placed in monogram order (first, last, middle) her's spells FOG. So I went with a single initial instead. (Note to self: take monograms into consideration when naming any subsequent children.)

I found a cute font and drew it out freehand since my printer was being persnickety. I hate it when that happens.

Next up, I cut it out, placed it on my felt and carefully cut it out.

The cut-out F for Miss Finley!

By the way, I used this felt that had a sticky backing on it so that I didn't need to use spray adhesive. It also gave the felt some added body, making it easier to cut; however, it's a little more expensive - $1.99 per sheet versus $0.34 a sheet.

For the bottom trim, I bought 1 3/8-inch ruffled trim in Shocking Pink. I bought a yard of it for $3.99 at Joann's.
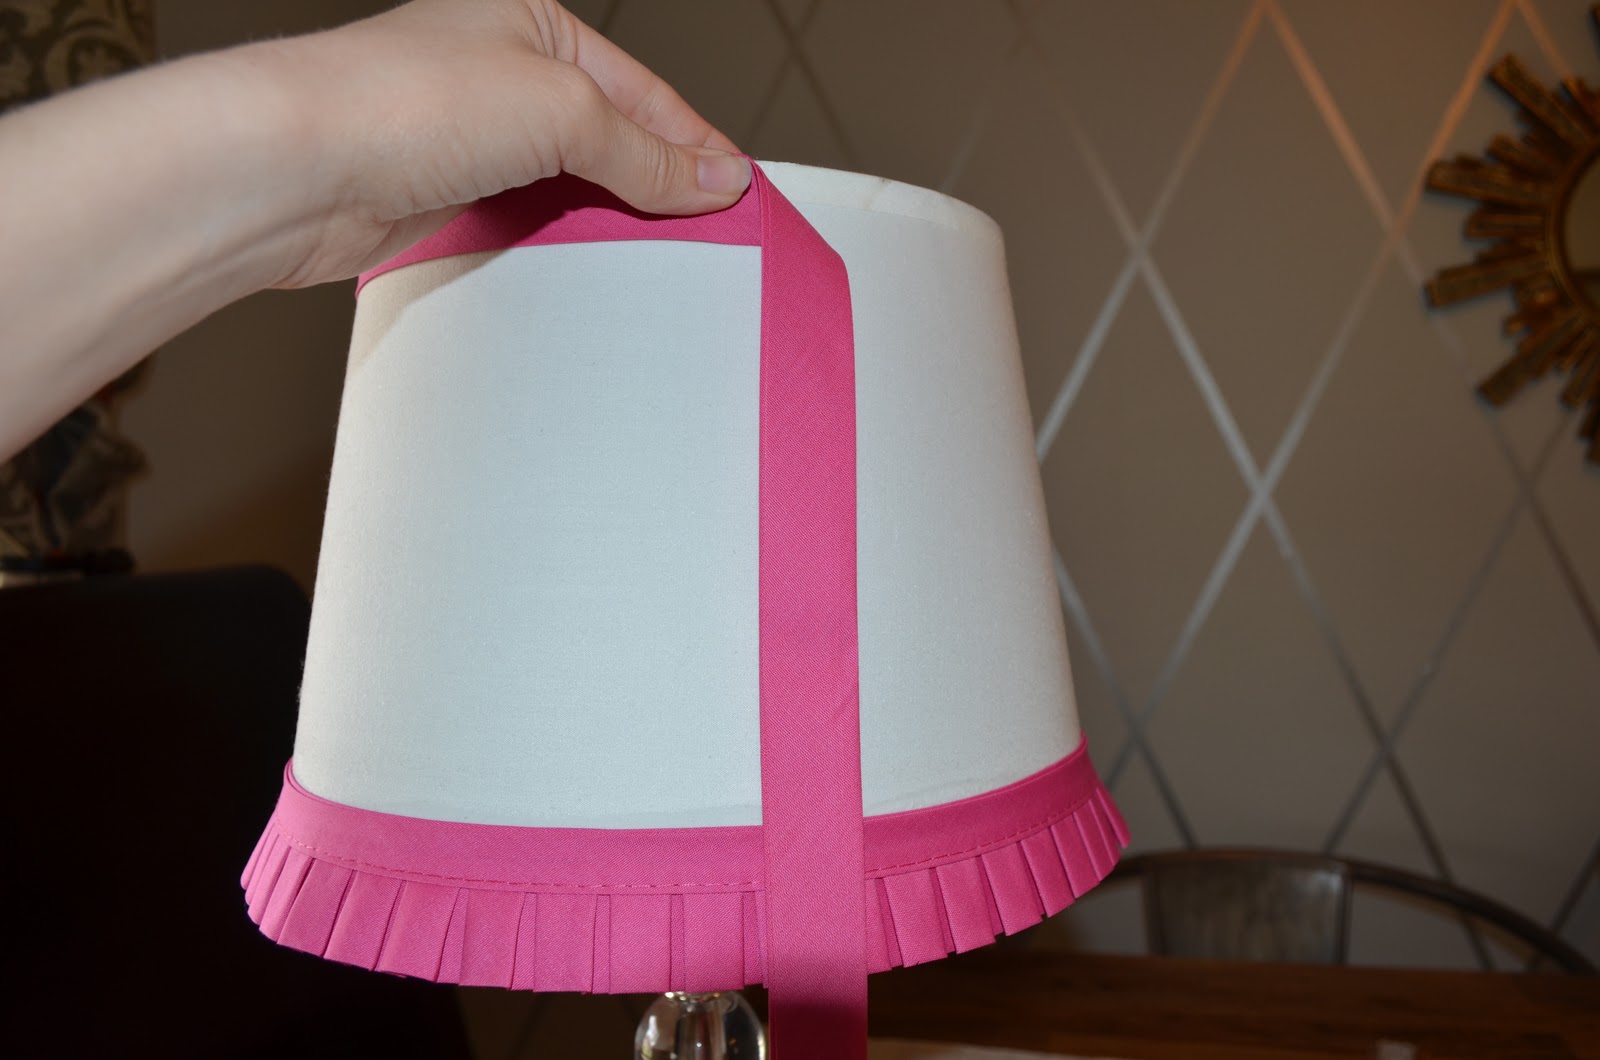
For the top trim, I used a matching wide bias tape that was $2.90.

I used a clip to help hold the seams together while they dried...

And then I added on the F and I have a completed lamp re-vamp for a whopping total of $8.88 plus tax! I think Finley is going to love it in her new room too!


